> ## Documentation Index
> Fetch the complete documentation index at: https://docs.postiz.com/llms.txt
> Use this file to discover all available pages before exploring further.
# Discord
> How to add Discord to your system
This integration requires that you have **Manage Server** permissions on the Discord server you want to integrate with.
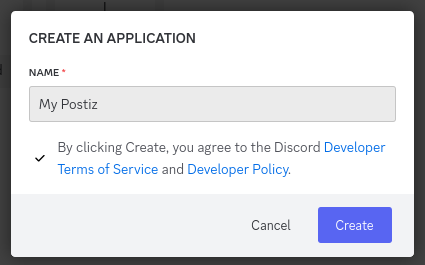
Login to Discord on the web, and then go to the [Discord Developer Portal](https://discord.com/developers/applications) and click on "New Application".
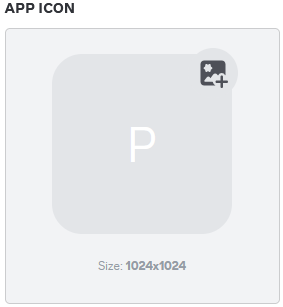 Upload the App Icon of your choice (1024x1024px max) and save your changes. If you do not do this, you will get 404 errors in logs when trying to add the Discord channel in the Postiz web interface.
You can find this in the **OAuth2** section of the Discord Developer Portal.
Upload the App Icon of your choice (1024x1024px max) and save your changes. If you do not do this, you will get 404 errors in logs when trying to add the Discord channel in the Postiz web interface.
You can find this in the **OAuth2** section of the Discord Developer Portal.
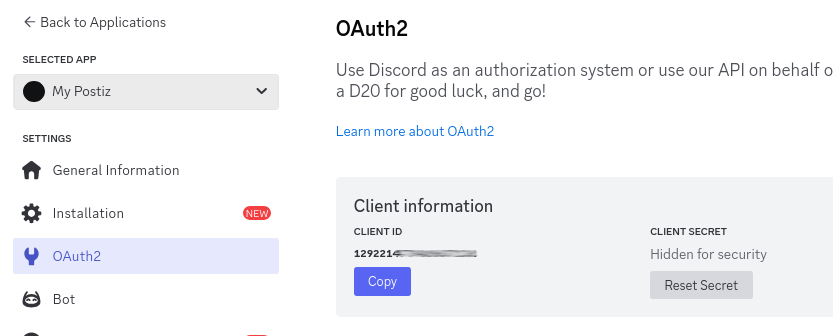 Set these in your .env file as follows;
```env theme={null}
DISCORD_CLIENT_ID="your_client_id"
DISCORD_CLIENT_SECRET="your_client_secret"
```
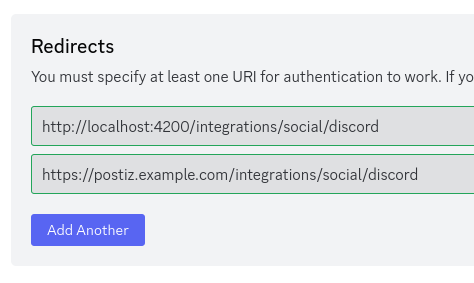
**Your Discord OAuth2 Redirect URI:**
* Production: `https://your-postiz-domain.com/integrations/social/discord`
* Local development: `http://localhost:4200/integrations/social/discord`
* Docker: `http://localhost:5000/integrations/social/discord`
You can find this in the **OAuth2** section of the Discord Developer Portal.
Set these in your .env file as follows;
```env theme={null}
DISCORD_CLIENT_ID="your_client_id"
DISCORD_CLIENT_SECRET="your_client_secret"
```
**Your Discord OAuth2 Redirect URI:**
* Production: `https://your-postiz-domain.com/integrations/social/discord`
* Local development: `http://localhost:4200/integrations/social/discord`
* Docker: `http://localhost:5000/integrations/social/discord`
You can find this in the **OAuth2** section of the Discord Developer Portal.
 Navigate to the "Bot" section of the Discord Developer Portal. Fill out the bot details however you like, and then click "Reset Token".
With the token that is generated, set it in your .env file as follows;
```env theme={null}
DISCORD_BOT_TOKEN_ID="your_bot_token"
```
If you do not set this, you will get 404 errors when trying to add the Discord channel in the Postiz web interface.
Stop Postiz if it is running, and then start it using the .env file with the Discord details.
Go to the Postiz web interface, and click on the "Add Channel" button, and then select "Discord". You should be redirected to Discord to login.
Navigate to the "Bot" section of the Discord Developer Portal. Fill out the bot details however you like, and then click "Reset Token".
With the token that is generated, set it in your .env file as follows;
```env theme={null}
DISCORD_BOT_TOKEN_ID="your_bot_token"
```
If you do not set this, you will get 404 errors when trying to add the Discord channel in the Postiz web interface.
Stop Postiz if it is running, and then start it using the .env file with the Discord details.
Go to the Postiz web interface, and click on the "Add Channel" button, and then select "Discord". You should be redirected to Discord to login.